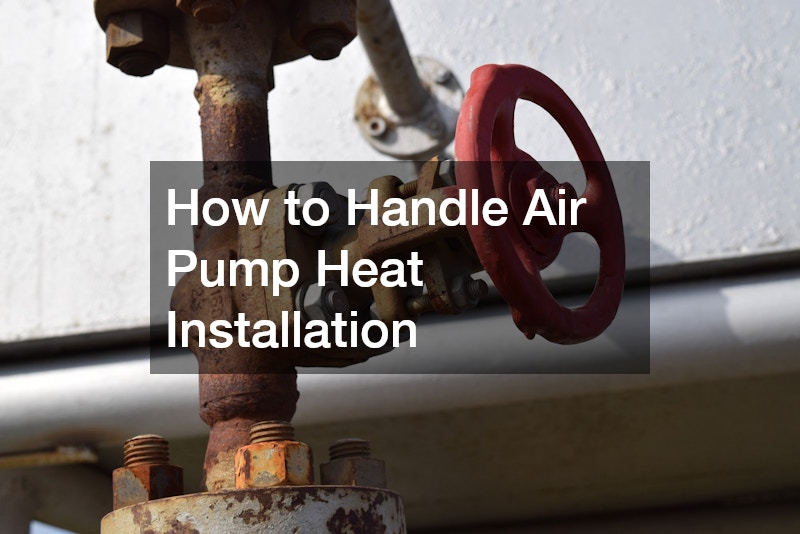
Installing a heat pump system can be a valuable upgrade to your home’s heating and cooling. Whether you’re a homeowner looking to save on energy bills or an eco-conscious individual wanting to reduce your carbon footprint, a heat pump is a great option. However, installation requires a step-by-step approach to ensure the system operates efficiently. Here is a detailed guide on how to handle air pump heat installation.
1. Understanding Heat Pumps
Before diving into the installation process, it’s important to understand what heat pumps are and how they work.
Heat pumps transfer heat from one place to another. During the warmer months, they move heat from inside your home to the outside, cooling your living space. During cooler months, the process reverses, and the heat pump draws warmth from the outside air and pumps it into your home.
Heat pumps can work efficiently in moderate climates, reducing the need for separate heating and cooling systems. There are two main types: air-source heat pumps and ground-source heat pumps. The most common option for residential homes is the air-source heat pump, which is the focus of this guide.
2. Determine the Proper Size of the Heat Pump
One of the most important steps in heat pump installation is choosing the right size for your home. A heat pump that’s too small won’t effectively heat or cool your space, while an oversized unit will cycle on and off frequently, reducing efficiency and increasing wear and tear.
To determine the proper size, conduct a load calculation that factors in the size of your home, insulation, windows, and local climate. It’s often best to consult a professional HVAC technician to help you choose the correctly sized unit based on these variables.
3. Select the Installation Site
Next, decide where to install the indoor and outdoor units of your heat pump system. This decision is crucial to the overall efficiency and effectiveness of your heat pump.
Outdoor Unit Location: The outdoor unit should be placed in an open, well-ventilated area. Ensure that it’s not blocked by plants, trees, or other structures that might restrict airflow. Avoid locations that are prone to accumulating debris like leaves and snow. The unit should also be installed on a solid, level surface to prevent any vibrations or noise.
Indoor Unit Location: The indoor air handler should be positioned where it can distribute air evenly throughout the home. Common locations include the basement, utility room, or an interior wall in your living area. Keep in mind that this unit should be easily accessible for regular maintenance.
4. Prepare the Installation Site
Once you have chosen the location for the heat pump units, the next step is to prepare the installation site. This includes:
Clearing Debris: Make sure the area where you plan to install the outdoor unit is free from leaves, rocks, or other debris that might interfere with airflow. You may need to pour a concrete slab or install a mounting bracket to keep the unit elevated above ground level, protecting it from snow and water accumulation.
Wall Penetration: For the installation of the indoor unit, you’ll need to create a hole in the wall to connect the refrigerant lines, electrical wires, and drain pipes between the indoor and outdoor units. This hole must be sealed tightly to prevent air leaks.
5. Mount the Indoor and Outdoor Units
With the site prepared, it’s time to mount the units. Start with the outdoor unit:
Outdoor Unit: Use an appropriate mounting pad or bracket to secure the outdoor unit in place. Make sure it is level and stable to avoid operational problems down the line. Once the unit is positioned correctly, connect the electrical wiring and refrigerant lines.
Indoor Unit: The indoor air handler can be mounted on the wall or placed on the floor, depending on the type of system you’re installing. Ensure it is installed level and at a proper height for optimal airflow. Connect the refrigerant lines and condensate drain line to the outdoor unit.
6. Connecting the Refrigerant Lines and Wiring
Next, it’s time to connect the refrigerant lines between the indoor and outdoor units. This step involves:
Refrigerant Lines: The copper refrigerant lines are the veins of your heat pump, carrying heat between the outdoor and indoor units. After carefully measuring and cutting the lines to the proper length, connect them to the designated ports. Ensure the connections are secure to avoid refrigerant leaks.
Wiring: Heat pumps require electrical connections between the indoor and outdoor units, as well as a connection to your home’s power supply. Turn off the power at the breaker panel and follow the manufacturer’s instructions for connecting the electrical wires. It’s important to ensure all connections are made correctly to avoid potential hazards.
7. Vacuuming and Charging the Refrigerant Lines
Once the units are connected, it’s crucial to remove any air or moisture from the refrigerant lines by using a vacuum pump. This step helps ensure that your heat pump operates efficiently and without any issues. After the vacuuming process is complete, charge the refrigerant lines with the correct amount of refrigerant. This process may require professional assistance, as it involves specialized equipment and a thorough knowledge of HVAC systems.
8. Testing the System
After the installation is complete, it’s time to test your new heat pump system to ensure everything is working properly:
Power On: Turn the power back on at the breaker panel and set your thermostat to heat or cool mode to test the system. Check that both the indoor and outdoor units turn on and operate quietly.
Airflow and Temperature: Ensure that there is adequate airflow from the indoor unit and that the system is delivering heated or cooled air as expected. Adjust the thermostat to confirm that the system responds to temperature changes.
Refrigerant Levels: Check the refrigerant levels to ensure they are within the recommended range. Low refrigerant levels could indicate a leak, which should be addressed immediately.