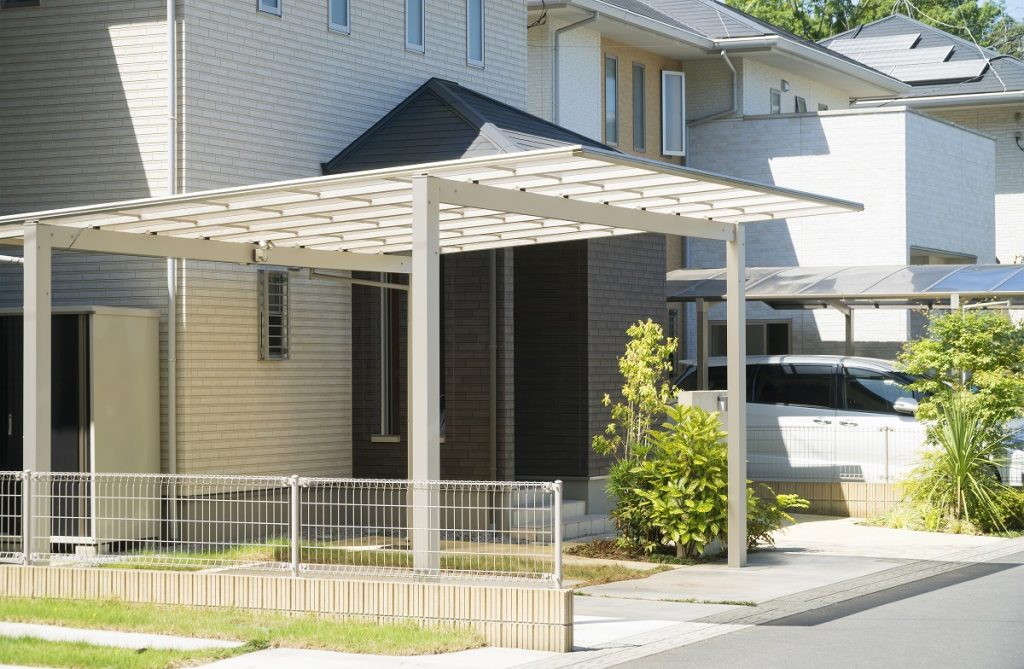
Protect your car during winter and during rainy days by building your own carport. It’s efficient and quicker than adding an extension to your home with a garage.
How do you start?
Determine Limitations
Though you don’t need planning permission to build a detached car port, you still need to adhere to the local government’s rules before you start building one. Here are the rules you need to follow from the UK’s planning portal:
- Use your carport for domestic purposes only
- The ground covered by your carport should not exceed half the total area of the property
- You can’t build your carport in front of your house
- The maximum height allowable for your carport is 4 metres
- The maximum eaves height allowable is 2.5 metres if it’s within 2 metres of the property’s boundary
- You should build your carport over 3.5 metres away from the road boundaries to the rear of the house
- If you live near a World Heritage Site, National Park, or an area of outstanding natural beauty, you carport should not cover more than 10 metres of the ground area at least 20 metres away from any wall of your home
What if you want your carport attached to your home? Would you still need a planning permission?
The local government considers an attached carport an extension of the home. This still won’t require planning permission, but you do have to follow the rules for building home extensions.
Steps to a DIY Carport
After making sure your plans for a carport isn’t in violation of any of the local rules, you need to prepare all of the materials to build your carport. Are you building a wood or metal? Do want an attached or detached carport?
You need lumber, concrete, nails, metal plates, screws and shingles and tools, like a shovel, a hammer and a power drill. To maximize your car’s roofing, use polycarbonate sheets. Polycarbonate sheet has UV protection; it’s also flame-resistant, weather-resistant and energy efficient. With a high-quality roof that can withstand extreme heat and snow, your vehicle receives full protection from the harsh elements.
A polycarbonate supplier in the UK will also tell you that the material makes cleaning your car easier since it lets natural light through. Polycarbonate also allows for a bit of style because it comes in different colours.
Once you have your materials and tools, start preparing the ground for your carport. Measure your car and then the ground, so you’ll know how wide and long you’ll need the metal poles and wooden beams to be. For average cars, you’ll need to measure at least 4.9 metres or 16 feet long and 9 feet wide for the ground.
Level the ground whenever necessary. Pour concrete ground cover on uneven areas, and then place six posts all around; four for each corner of the rectangle and two for each idle portion of its length. Dig holes for each post to make the beam.
Pour 6 inches of concrete before placing each post and then continue to fill it up once the post is inside. Check the posts for stability, so it doesn’t topple over at the slightest breeze or snow. After that, start building the roof.
Fasten the rafters over the side beams. Then fasten the roof boards to the rafters. Check for proper measurements and adjust if necessary. Finish it off by making sure there are no open areas on the roof or on the posts themselves.
Caulk the roof seams to keep the elements out and make each surface waterproof before shingling it. Stain or paint over anything that needs coating then let it dry before inspecting it again. And voila, you’ve erected your first carport.
Don’t forget to check the stability of the structure and follow a maintenance program. It should hold up for a long time if built correctly. By building your own carport, you’ve protected your vehicle without needing to get planning permission.

